Build a Todo API with Platformatic Watt and DB
In this tutorial, you will build a simple ToDo application using the Platformatic Watt and DB. Platformatic DB makes it easier to create endpoints that return data from a database application. It automatically generates REST/GraphQL endpoints by mapping your database and then exposes these endpoints to your API consumers.
This guide will walk you through the steps to build Todo CRUD API with Platformatic services, highlighting the differences compared to building traditional APIs.
Prerequisites
Before we begin, make sure you have the following installed:
- Node.js (v20.16.0+ or v22.3.0+)
- Platformatic CLI
Building a Todo API
This application is a quick way to get started with building APIs on Platformatic. We will be building a simple CRUD API to manage Todo items. Creating a Todo API with Platformatic DB is as easy as creating a database and then mapping it to a GraphQL or REST API.
Let's get started!
Setting Up the Project
Before you create the database for the Todo application, first setup Platformatic Watt, the Node.js application server. Run the command to setup Watt:
mkdir my-app
cd my-app
npx wattpm@latest init
Which will output:
Need to install the following packages:
[email protected]
Ok to proceed? (y) y

[15:48:14.722] DONE (40803): Created a wattpm application in /Users/tmp/my-app.
Then, run npm install to install all the dependencies.
Add Platformatic DB service
Run the command wizard below in the web directory of your Watt application to add a DB service.
To start the Watt creator wizard, run the appropriate command for your package manager in your terminal:
- npm
- yarn
- pnpm
npx wattpm create
yarn create platformatic
pnpx wattpm create
This interactive command-line tool will guide you through setting up a new Platformatic project. For this guide, please choose the following options:
- Where would you like to create your project?  => .
- Which kind of service do you want to create?  => @platformatic/db
- What is the name of the service?              => (generated-randomly), e.g. legal-soup
- What is the connection string?                => sqlite://./db.sqlite
- Do you want to create default migrations?     => Yes
- Do you want to create another service?        => No
- Do you want to use TypeScript?                => No
- What port do you want to use?                 => 3042
- Do you want to init the git repository?       => No
After completing the wizard, your Platformatic application will be ready in the specified folder. This includes example migration files, plugin scripts, routes, and tests within your service directory.
If the wizard does not handle dependency installation, ensure to run npm/yarn/pnpm install command manually:
Run the command to start your application:
npm start
Setting up Migrations
Platformatic DB uses SQLite as the default database for any Platformatic DB application, you can see the SQL definition in the .env file in the root folder of your application.
For the Todo API, we need two tables, Users and Todos, let's edit the migrations generated by Platformatic CLI to add these tables:
Creating a Users table
To create the users table, navigate to the web/db/migrations directory and edit 001.do.sql file, and add the schema below:
CREATE TABLE IF NOT EXISTS Users (
    id INTEGER PRIMARY KEY,
    username TEXT NOT NULL UNIQUE,
    password TEXT NOT NULL,
    created_at DATETIME DEFAULT CURRENT_TIMESTAMP
);
And edit the db/migrations/001.undo.sql file to look like this:
DROP TABLE Users;
To ensure the OpenAPI specification accurately reflects your API endpoints, it's essential to use plural table names.
Before we apply the migrations, let's create a new table for our Todos, to do that create another file 002.do.sql and inside it, add the schema for your Todos table.
CREATE TABLE IF NOT EXISTS Todos (
    id INTEGER PRIMARY KEY,
    user_id INTEGER,
    title TEXT NOT NULL,
    description TEXT,
    due_date DATE,
    completed BOOLEAN DEFAULT 0
);
And again, add a new file 002.undo.sql to drop the table.
DROP TABLE Todos;
See the Glossary for terminologies and definitions used in Platformatic DB.
Now let's apply the migrations we just created by running the command below:
npx platformatic db migrations apply
Notice that after running migrations, you get a global.d.ts and a types folder with all our types and interfaces automatically generated by Platformatic DB. The global.d.ts file is used for querying the Platformatic database.
Now, start your Platformatic DB application by running:
npm run dev
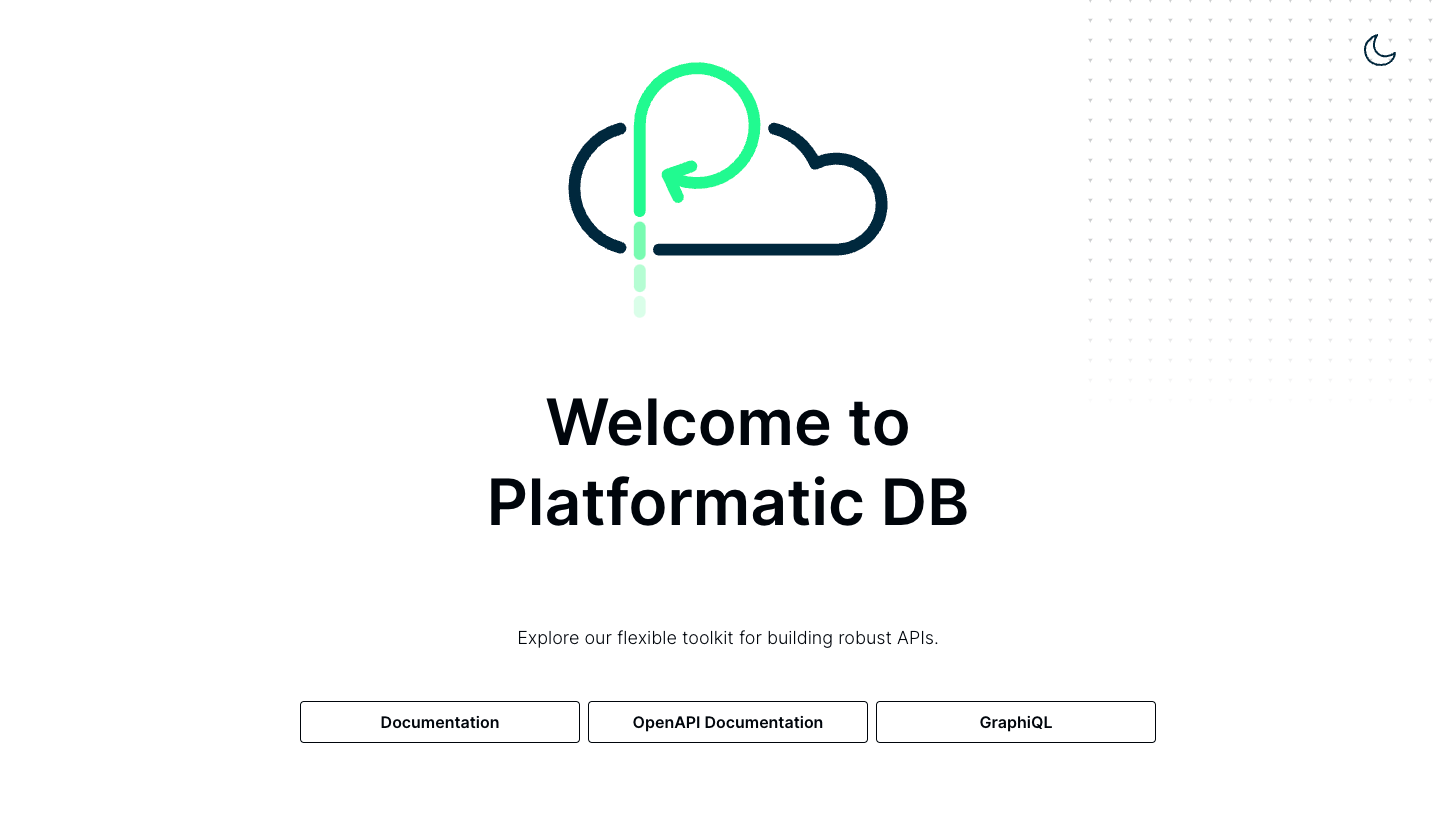
Now you'll see this screen when you open http://0.0.0.0:3042/ in your browser:
Testing API endpoints
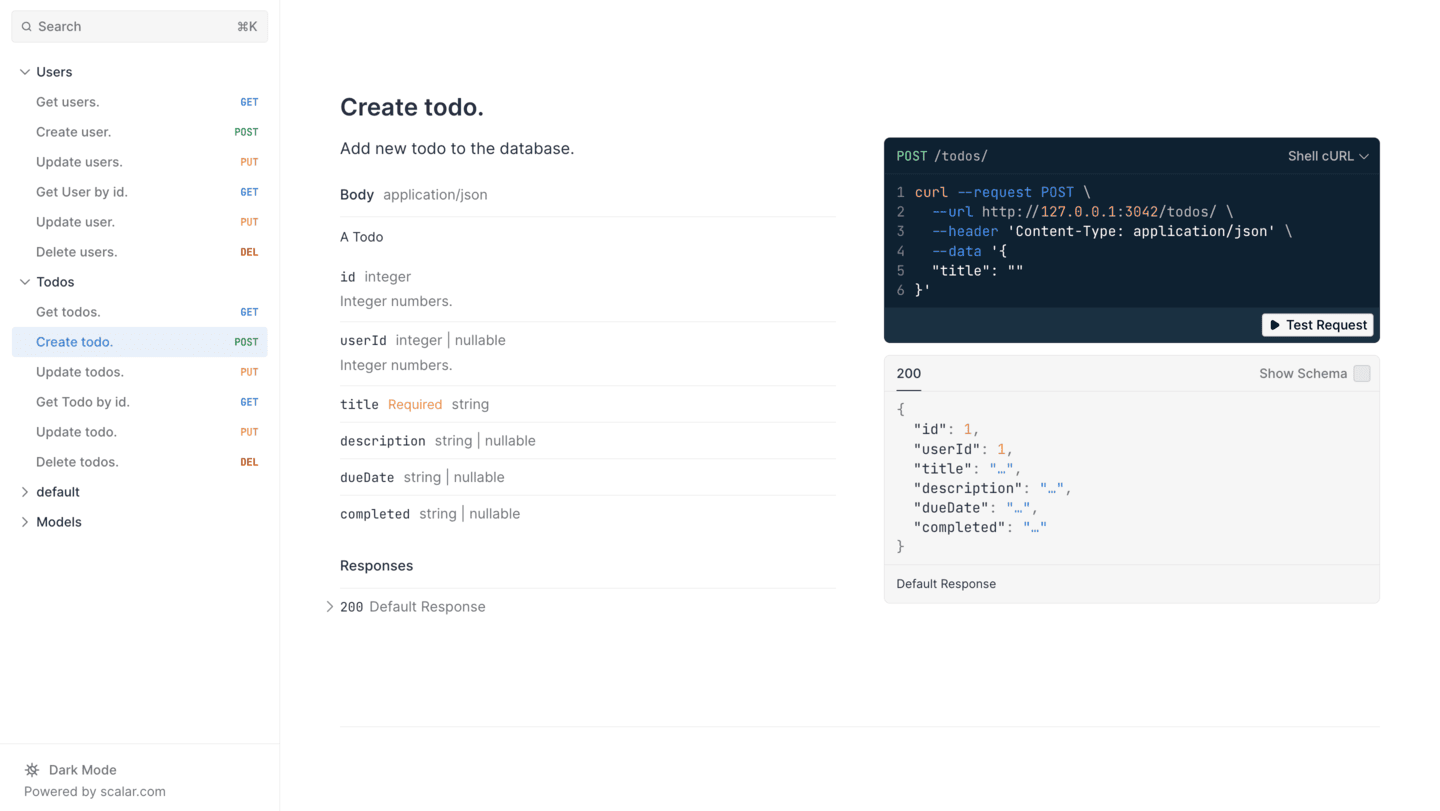
To test our API endpoints from Platformatic, click on the OpenAPI Documentation link on this page http://0.0.0.0:3042/. This will open the Swagger editor with all the API endpoints we just created.
Click on Test request and test the Create Todo endpoint as shown below:
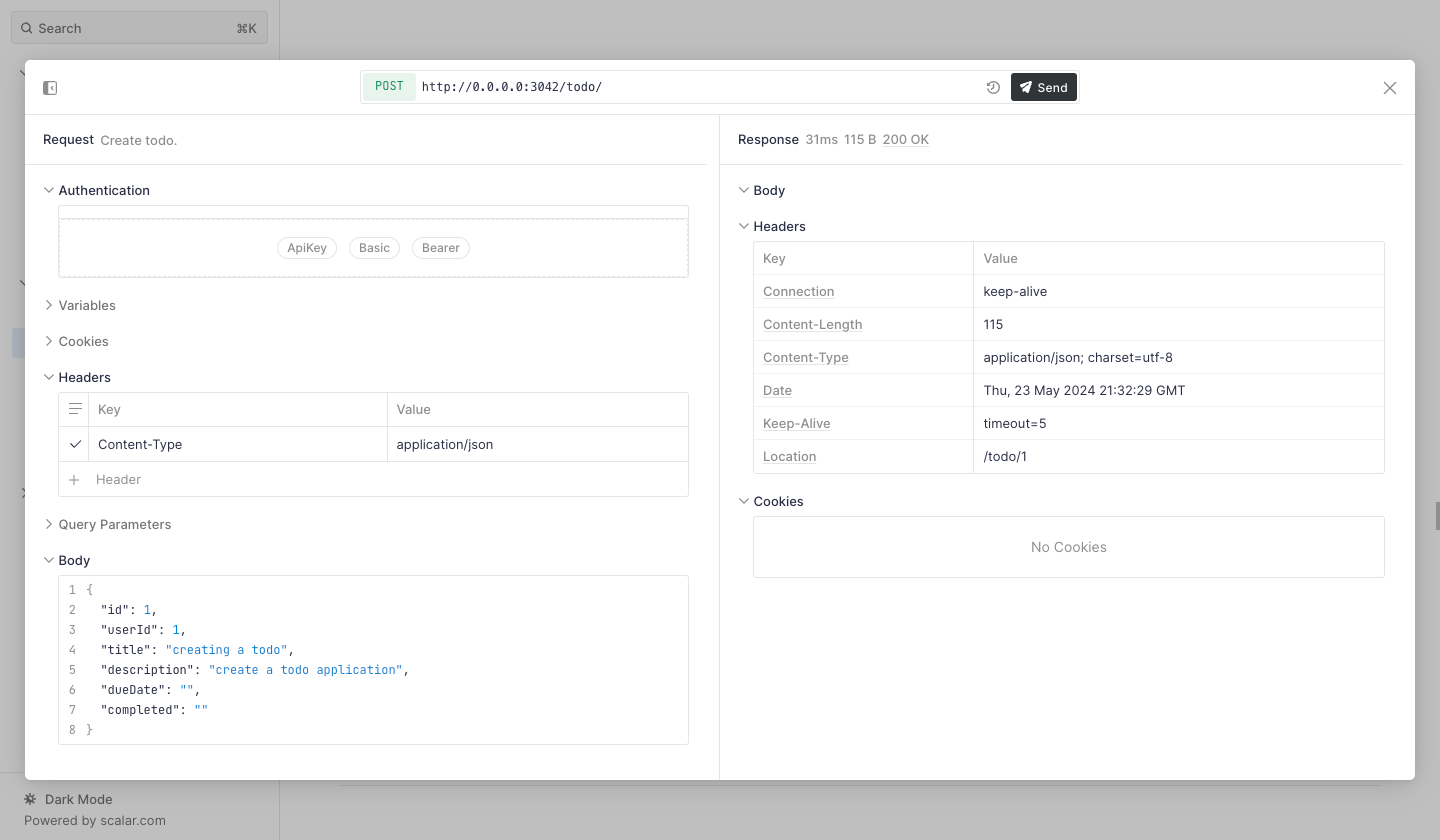
You should get a 200 OK status code for a successful request.
Enable CORS on the API
When we build "like" functionality into our frontend, we'll be making a client side HTTP request to our GraphQL API. Our backend API and our frontend are running on different origins, so we need to configure our API to allow requests from the frontend. This is known as Cross-Origin Resource Sharing (CORS).
To enable CORS on our API, let's open up our API's .env file and add in
a new setting:
PLT_SERVER_CORS_ORIGIN=http://localhost:3000
The value of PLT_SERVER_CORS_ORIGIN is our frontend application's origin.
Now we can add a cors configuration object in our API's configuration file,
web/db/platformatic.json:
{
  "server": {
    "cors": {
      "origin": "{PLT_SERVER_CORS_ORIGIN}"
    }
  },
  ...
}
The HTTP responses from all endpoints on our API will now include the header:
access-control-allow-origin: http://localhost:3000
This will allow JavaScript running on web pages under the http://localhost:3000
origin to make requests to our API.
Conclusion
Congratulations! You have successfully created a simple Todo API using Platformatic. This tutorial covered the basics of setting up a Platformatic project, defining a schema, configuring the service, and creating API endpoints. For more advanced features and configurations, refer to the Platformatic API Documentation.